
The art of personalizing everyday objects, like mugs, is gaining popularity. DIY (Do It Yourself) enthusiasts are looking for ways to express their creativity while achieving professional finishes. Acrylic paint is a popular choice for its versatility and wide range of colors. Painting on ceramic presents challenges, the most prominent being to avoid smudges that can ruin the design. Precise techniques must be implemented to ensure a clean and satisfying result. Mastering these techniques allows anyone to transform a simple mug into a personalized work of art.
Preparation and materials needed to paint a mug with acrylic paint
Before diving into the acrylic painting techniques on a mug, gather the necessary materials. You will need a mug or cup as a canvas for your creation. Make sure it is clean and free of any grease; washing it with dish soap followed by a rinse with clear water will suffice. On your workspace, spread out newspaper to protect the surface from any potential paint splashes.
Recommended read : Electrolysis Hair Removal: An Effective Solution for the Face?
Precision is key when it comes to drawing patterns without smudges. To do this, a pencil will allow you to outline your design on the mug. Masking tape will be an indispensable ally to maintain straight and clean lines. As for applying the paint, a palette is necessary to pour and mix the colors, and a quality brush is required to delicately transfer the acrylic paint onto the ceramic surface.
The final step, often overlooked but fundamental for the durability of your work, is to apply a clear acrylic varnish, which will act as a protective sealant. Once the paint is dry, place the mug in a preheated oven, according to the specific instructions for the paint used, to permanently set the colors and design. This step solidifies the paint’s resistance and ensures increased longevity for your creations, even after multiple washes.
Recommended read : What tasks can be done with a chainsaw?
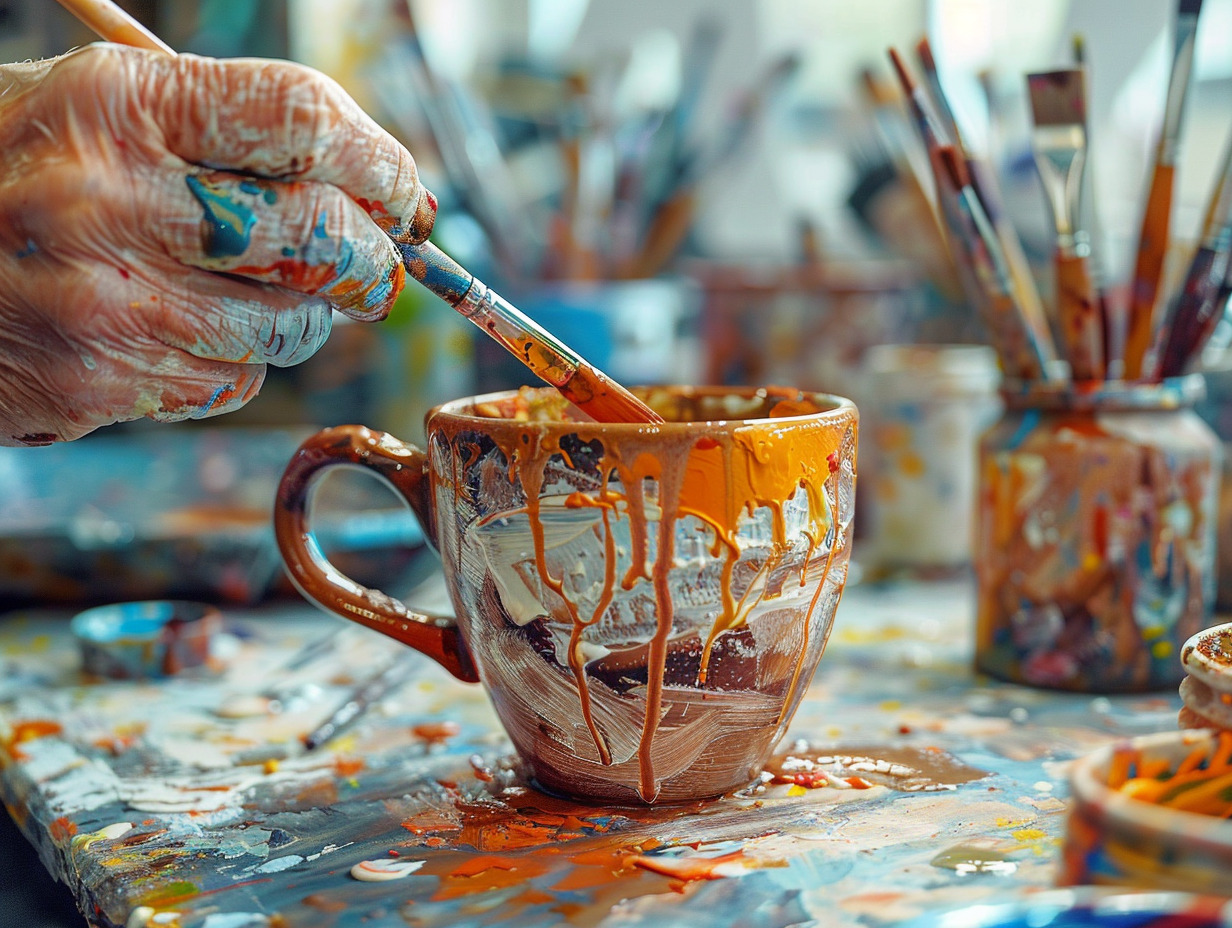
Techniques for applying acrylic paint without smudges
Master the technique for a flawless application by opting for light and precise brush strokes. A quality brush, chosen based on the finesse of the details to be created, is essential. Dip the tip in the paint, but be careful not to overload the brush to avoid drips. The secret lies in a smooth and controlled movement that follows the contours previously traced with a pencil, assisted by the strategic use of masking tape for edges and straight lines.
Applying the final coat of paint is a delicate step: work in sections and allow each part to dry before moving on to the next to prevent any unwanted blending of colors. Patience and attention to detail are advised to achieve a flawless finish. After complete drying, a clear acrylic varnish applied meticulously will seal your work, providing a smooth surface that withstands daily wear and tear.
To permanently set the paint on your mug, bake it for the necessary time. Follow the instructions related to the chosen acrylic paint, as temperature and baking time may vary. This step is crucial for the longevity of your piece; it allows it to withstand the test of time and use. After baking, wash the mug with dish soap and rinse with clear water to remove any potential residues before using or gifting it.